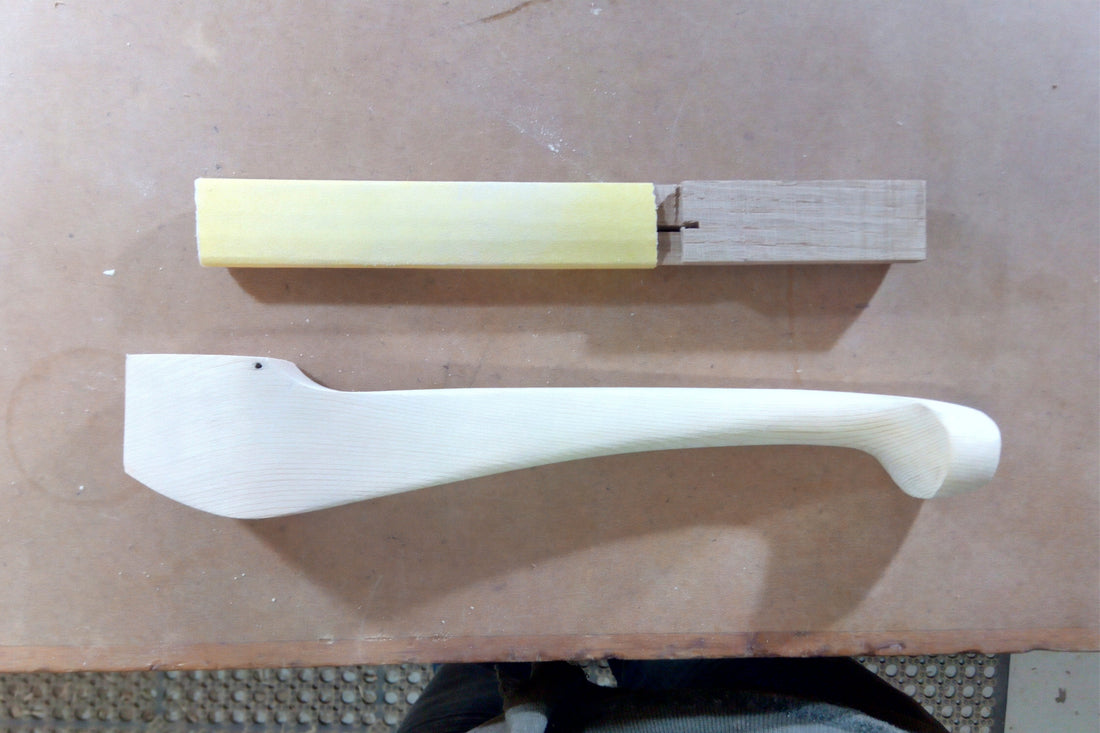
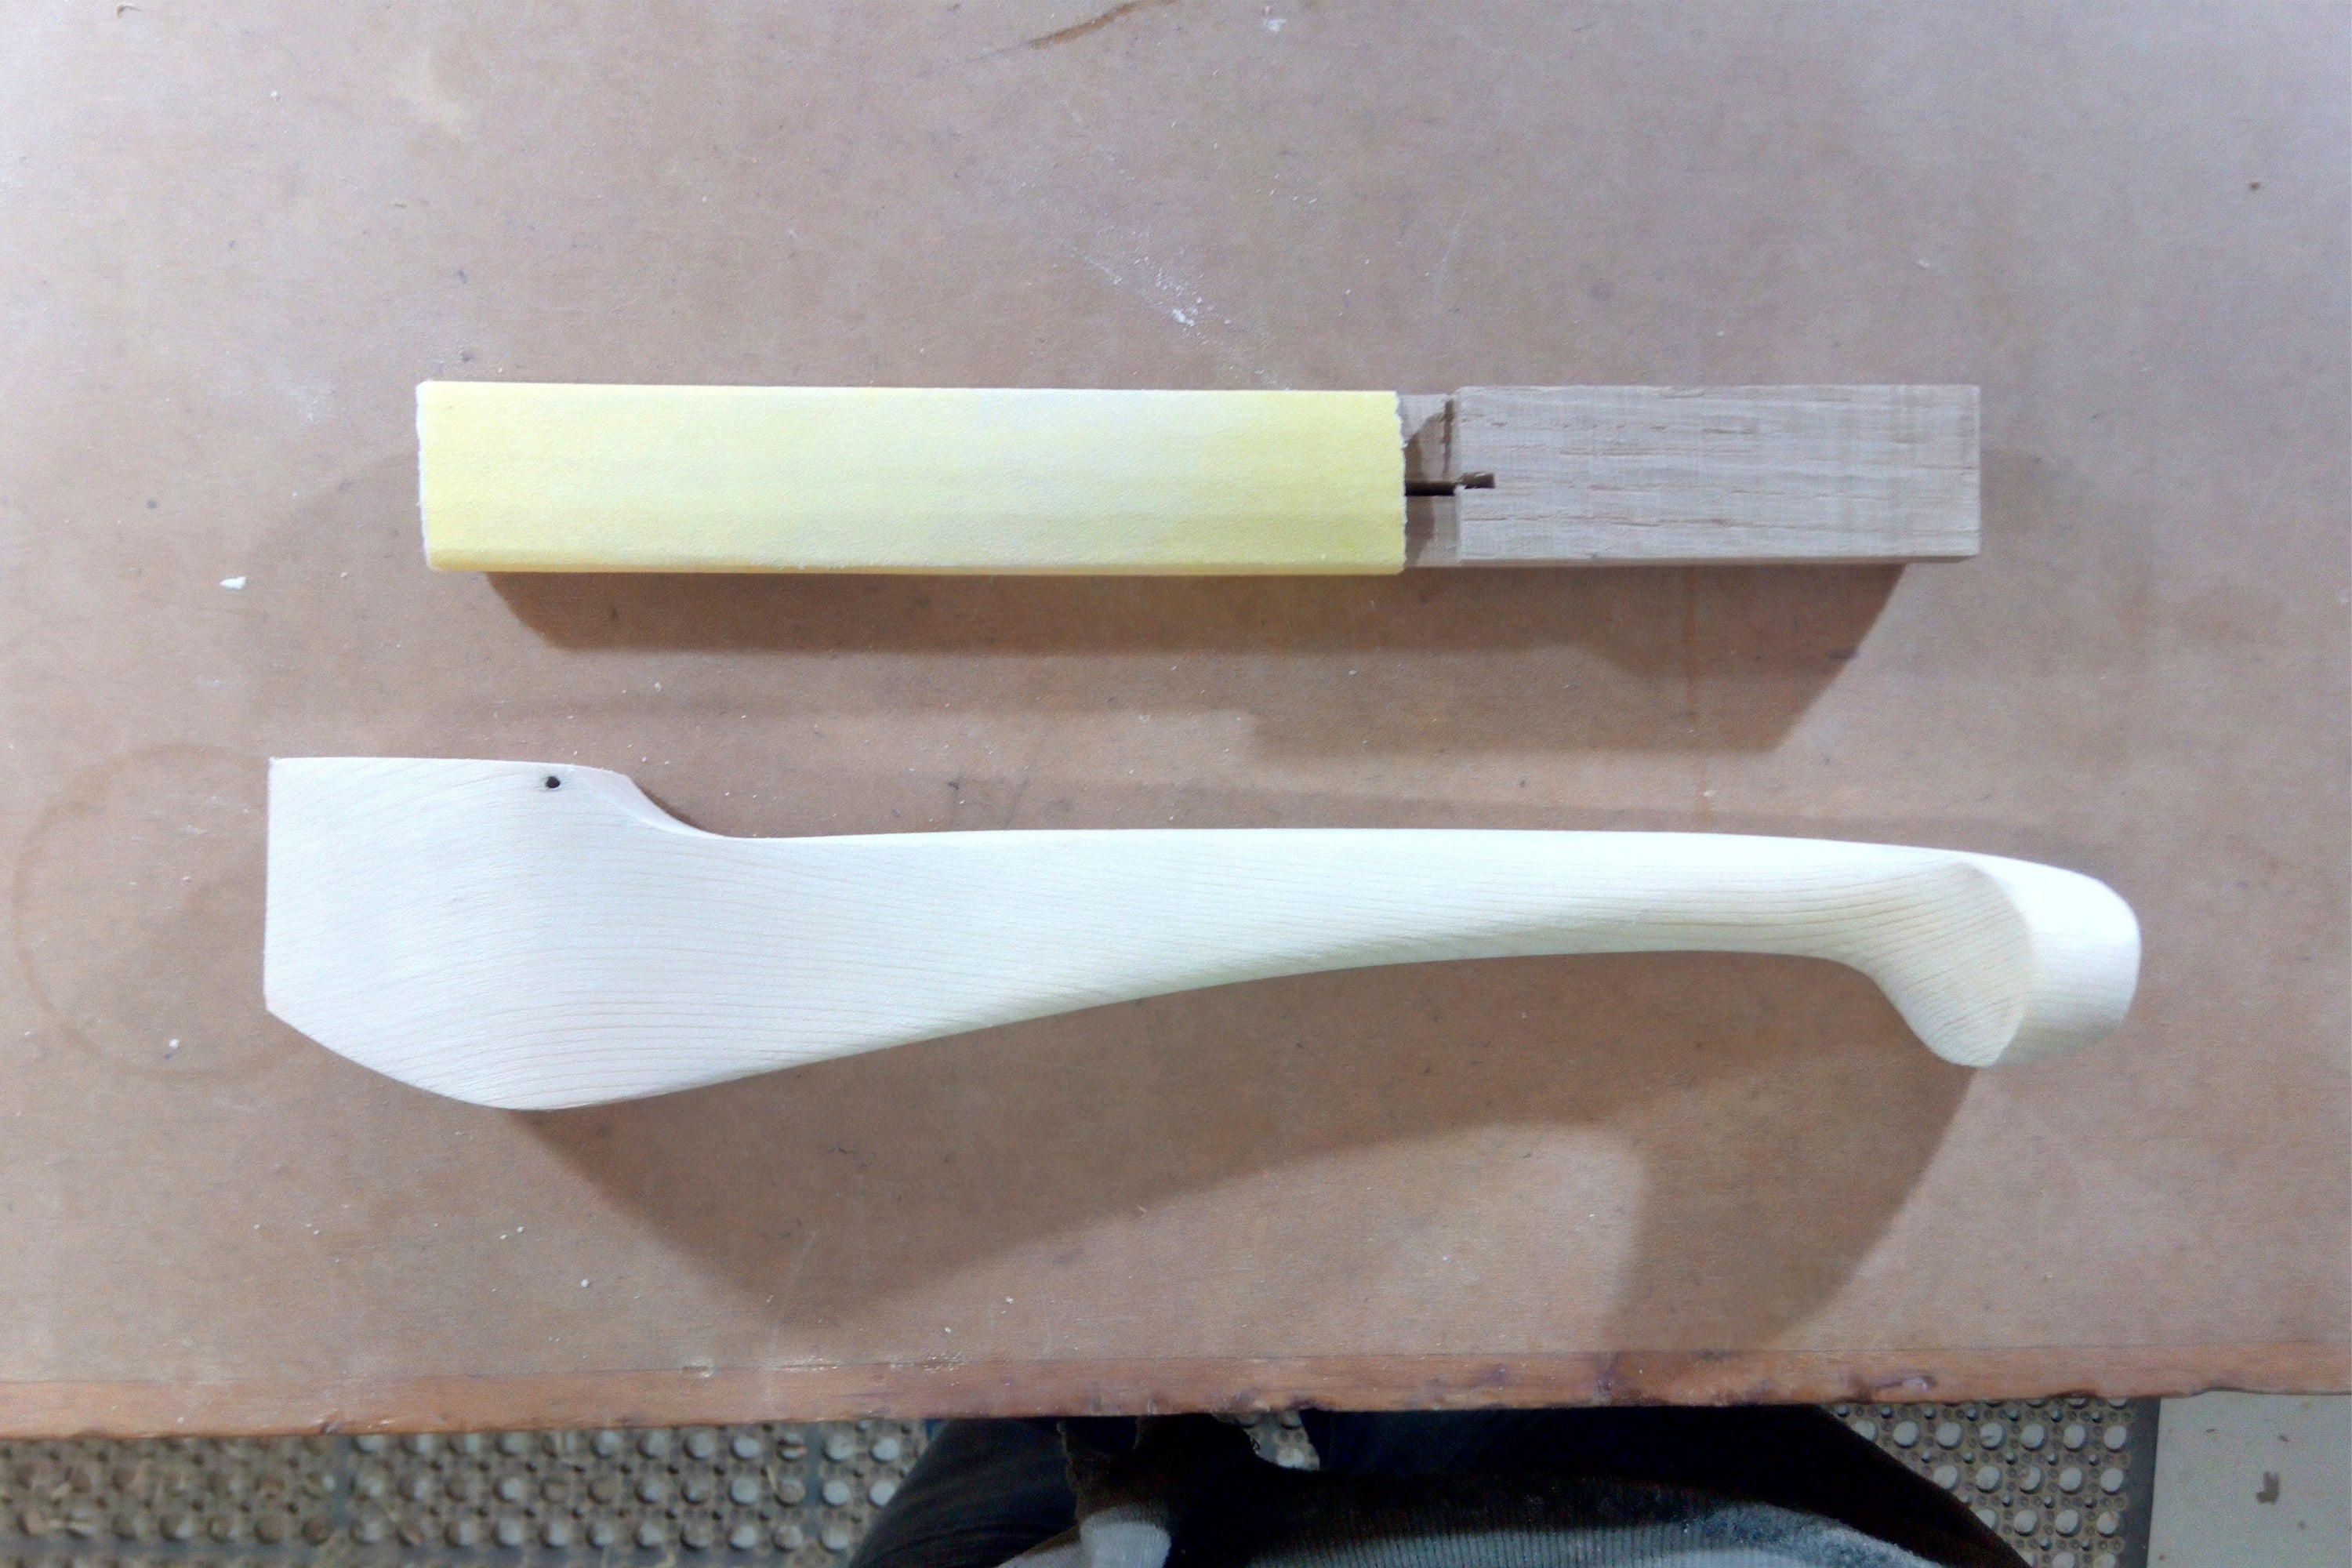
Making a Cabriolet Leg involves a great deal of learning, as it serves as an exercise in proportions and the creation of beautiful three-dimensional curves. The process can be broken down into four parts: drawing the leg profile, cutting the template, three-dimensional shaping, and carving.
Tools & materials:
- Marking gauge
- Plywood or MDF offcuts
- Block of timber
- Band Saw
- Spoke Shave
- Sash clamp (optional)
- Sandpaper (60 grit up to 180 grit )
Drawing the Leg Profile
Begin by marking the centre line on a sheet of MDF or plywood, which will serve as the leg profile template.
Utilise specific reference points to guide the drawing of the curves, ensuring a cohesive design.
The Cabriolet leg design is based on curves, so start drawing from a point away from the body and bring the pen towards you to achieve smooth, flowing lines.
Rely on visual judgment to establish proper proportions, as there are no fixed geometries, but general rules regarding good proportions should be followed.

Cutting the Template
Take the template to the bandsaw, using a small blade if necessary for sharp curves.
Once cut, use sandpaper to smooth the edges.


Shaping the Leg Three-dimensionally
Trace the template onto one face of the timber block, then flip it 90 degrees and trace it on the other side, ensuring alignment of the knees.
Return the block to the bandsaw and begin cutting the profile on one face, leaving some material at certain points for reference when drawing the other face (refer to the diagram). Flip the block and cut the other face, removing all excess material. Flip it back to the first face and complete the cuts.

Carving the Leg
The leg starts to take shape at this stage. Use a spoke shave, ensuring a sharp blade for efficient carving. Mark the centre line around the ankle as a guide for material removal and draw a tear drop shape on the bottom surface of the leg.
Secure the leg on a sash clamp, exposing more surface area for easier work with the spoke shave.
Begin carving with the spoke shave, starting from the sharp corners of the leg. Work from the knee area down to the toe.
Remove more material from the bottom area, increasing the radius in the corner.
Pay special attention to the toe, using the previously drawn tear drop shape as a guide for material removal.
As the leg approaches its final shape, use your fingers' sensitivity to evaluate the convex and concave surfaces, developing a sense of touch throughout the process.

